Navigate to Deploy tab
Navigate to the Deploy tab of the environment in your DCDeploy dashboard where you want to deploy your service.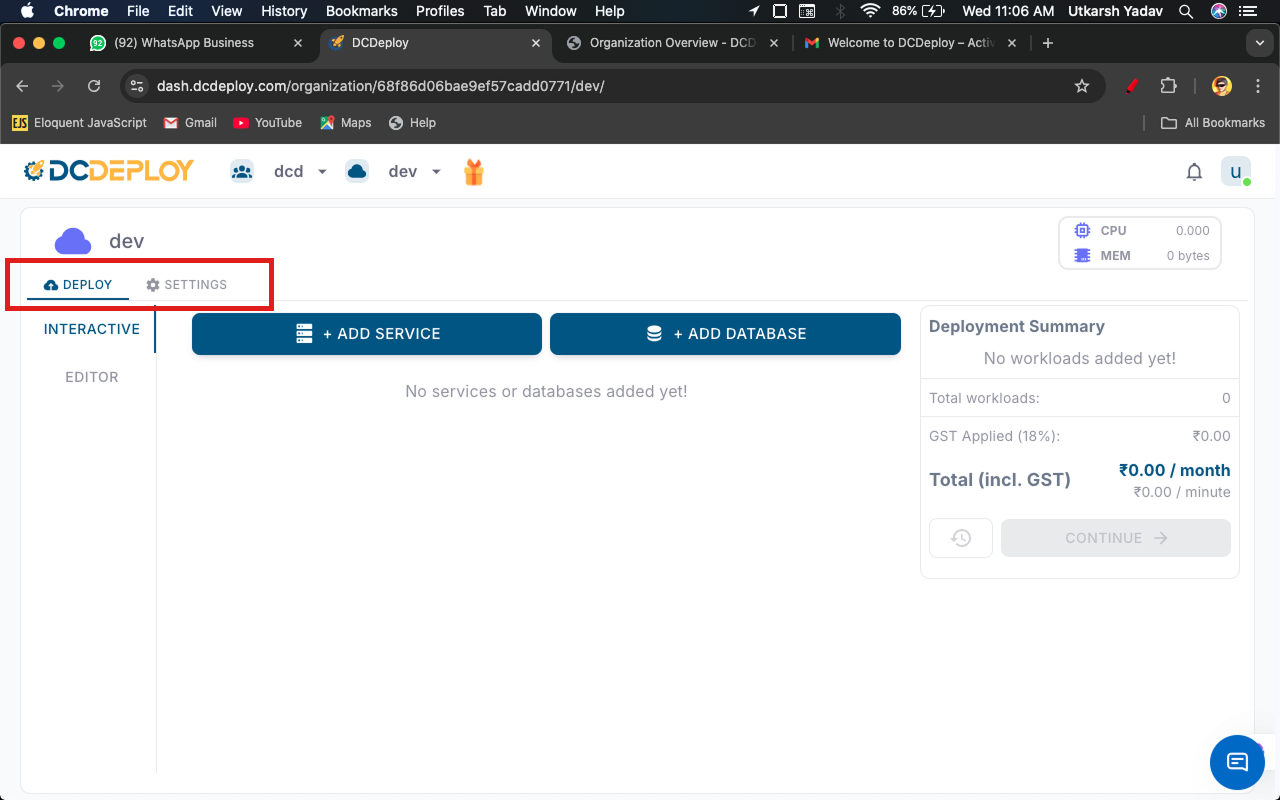
Add a new service
Click on Add Service. A new form will appear where you can provide details of your service.
Begin Deployment
- Begin by adding a new service.
- Service Name: A unique name is auto-generated by default. You can change it if needed.
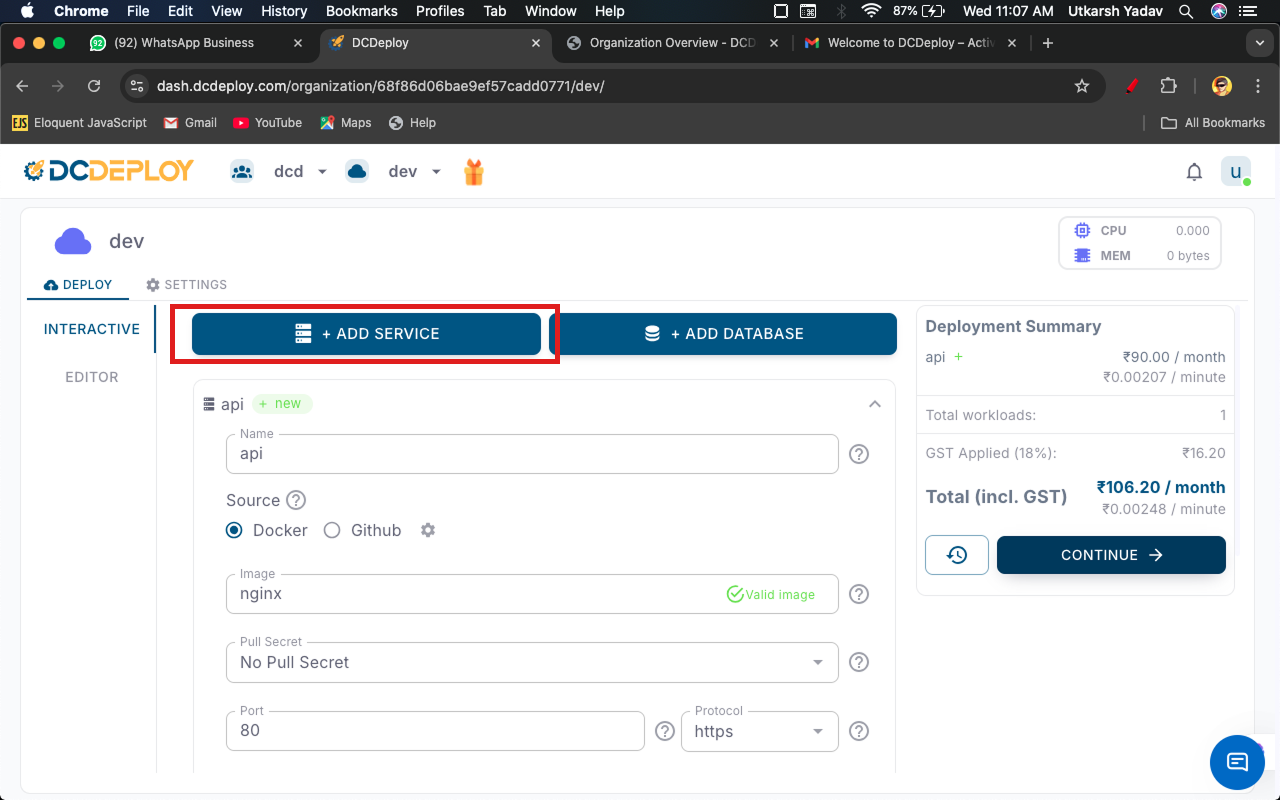
Select Source and Image
- Next, select the source type for your service (default is Docker).
- Afterwards, provide the image details.
- Valid examples:
nginx:latest,nginx,docker.io/nginx:latest,docker.io/nginx. - Continue by adding the image configuration.
- By default pull-secret set to no pull-secret if the service is private configure credentials , the service will be deployed in private network. Otherwise, it will be deployed in public network.
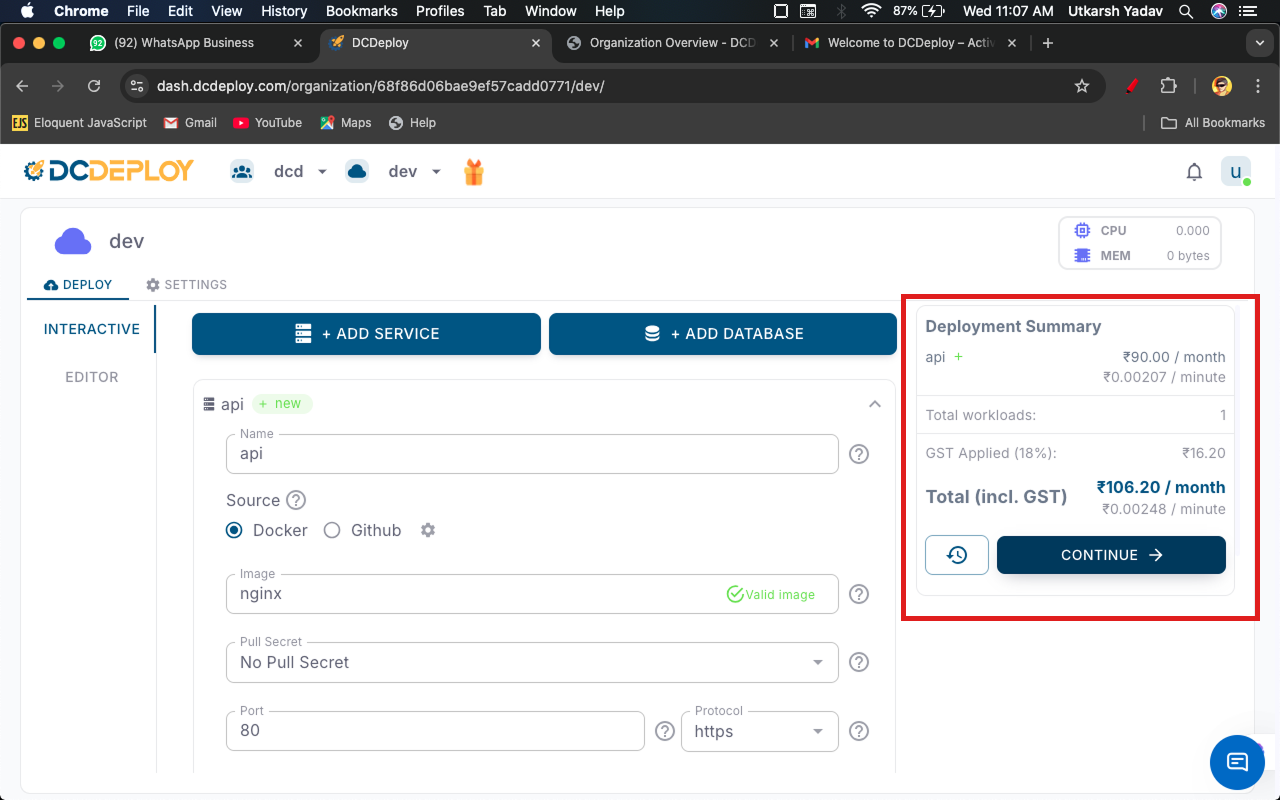
Configure runtime settings
Configure how your service should run:
- Port: Enter the port number your service listens on. Ensure your app binds to
0.0.0.0on this port. - Protocol: HTTPS is the default protocol.
- Region: Select the DCDeploy region(s) where you want your service deployed.
- Machine Type: Choose from available DCDeploy machine types (CPU, RAM, and Disk). See details here.
- CPU/Memory Usage Limits: Configure resource limits according to your service requirements.
- Environment Variables: Provide environment variables by directly pasting your
.envfile or add them manually. - Scaling Options:
- Define minimum and maximum instances.
- Enable Auto Scaling to automatically scale based on traffic or CPU/memory thresholds.